
Clean your breville juicer by disassembling the juicer parts and cleaning them with warm soapy water. Juicing provides a refreshing and healthy way to receive essential nutrients from fruits and vegetables.
Cleaning your breville juicer is essential to prolong its lifespan and ensure its effectiveness. Whether you wish to juice fruits for a refreshing smoothie, or vegetables for a nutrient-packed drink, it is imperative to clean your juicer after each use.
This article aims to provide an expert guide on how to clean the breville juicer, including cleaning materials and methods, and some essential tips to help you clean your juicer quickly and efficiently. So, without further ado, let us dive in and learn how to clean the breville juicer.
Why Deep Clean Your Breville Juicer?
Regular Cleaning Is Not Enough.
While it’s crucial to clean your Breville juicer after each use to remove excess pulp and juice, regular cleaning may not be enough in the long run. Even if you think your juicer is clean, there may be residual traces of fruit and vegetable particles hiding in the corners of the juicing chamber or other parts of your juicer.
Over time, these particles can clog the machine’s parts, which may lead to decreased efficiency, performance issues, and even contamination.
The Need For Deep Cleaning
Deep cleaning your Breville juicer will help to remove any trapped or hidden particles that regular cleaning may miss. It’s best to deep clean your Breville juicer every month to ensure maximum efficiency and performance.
By deep cleaning your juicer, you can also get rid of any bacteria or fungi that may be lingering inside the machine, which can help prevent contamination.
Here are some benefits of deep cleaning your Breville juicer:
- Helps remove residual fruit and vegetable particles.
- Increases the efficiency and performance of your juicer.
- Lengthens the lifespan of your machine.
- Reduces the risk of contamination.
- Improves the taste of your juice.
Deep cleaning your Breville juicer is a critical step in ensuring that your juicer stays in excellent condition. By keeping your machine clean and free of contaminants, you can enjoy great-tasting, healthy juices for years to come.
Tools Needed For Cleaning Your Breville Juicer
Cleaning your breville juicer is an essential task to ensure that it remains in excellent condition to produce quality juice every time. Here are the tools you need to make cleaning your breville juicer a breeze:
- Clean towel or cloth: This tool helps you wipe down the external parts of your juicer to prevent water or juice splashes from staining it.
- Small brush or toothbrush: This tool comes in handy when scrubbing hard-to-reach areas that might accumulate food debris over time.
- Mild dish soap: This tool removes dirt and grime from your juicer’s parts without damaging its integrity.
- Sponge: This tool is useful in scrubbing and cleaning your juicer’s removable parts before rinsing them off with clean water.
To clean your breville juicer quickly, follow these cleaning tips using the above tools:
- Before cleaning, ensure that you have unplugged your juicer from the power source and disassembled the parts that you will clean.
- Use a clean towel or cloth to wipe down the juicer’s external parts, taking care not to spray water or juice on it.
- Use the small brush or toothbrush to scrub the hard-to-reach areas on your juicer. Be gentle to avoid scratching the juicer’s surface.
- Mix some mild dish soap with warm water in a basin and use the sponge to scrub each removable part gently.
- Rinse each part with clean water before wiping them dry with a clean cloth or towel.
- Reassemble the juicer and store it in a safe place once it has dried completely.
By using the right tools and following these cleaning methods, maintaining your breville juicer’s cleanliness will be easy and enjoyable.
Understanding The Different Parts Of A Breville Juicer
Breville juicers are an innovative way of getting fresh, vitamin-rich, and pulp-free juice in a matter of minutes. The juicer separates the pulp and juice, leaving you with a delicious and nutritious drink.
Before diving into the cleaning process, let’s go over the different parts of a breville juicer:
- Motor base: The base contains the motor, which powers the juicer.
- Juice container: The container collects the juice as it flows out of the spout.
- Juicing bowl: The bowl houses the nutridisk, which extracts juice from fruits and vegetables.
- Feed chute: The chute is where you add fruits and vegetables for juicing.
- Filter basket: The basket separates pulp from juice.
- Cleaning brush: The tool helps with cleaning hard-to-reach areas.
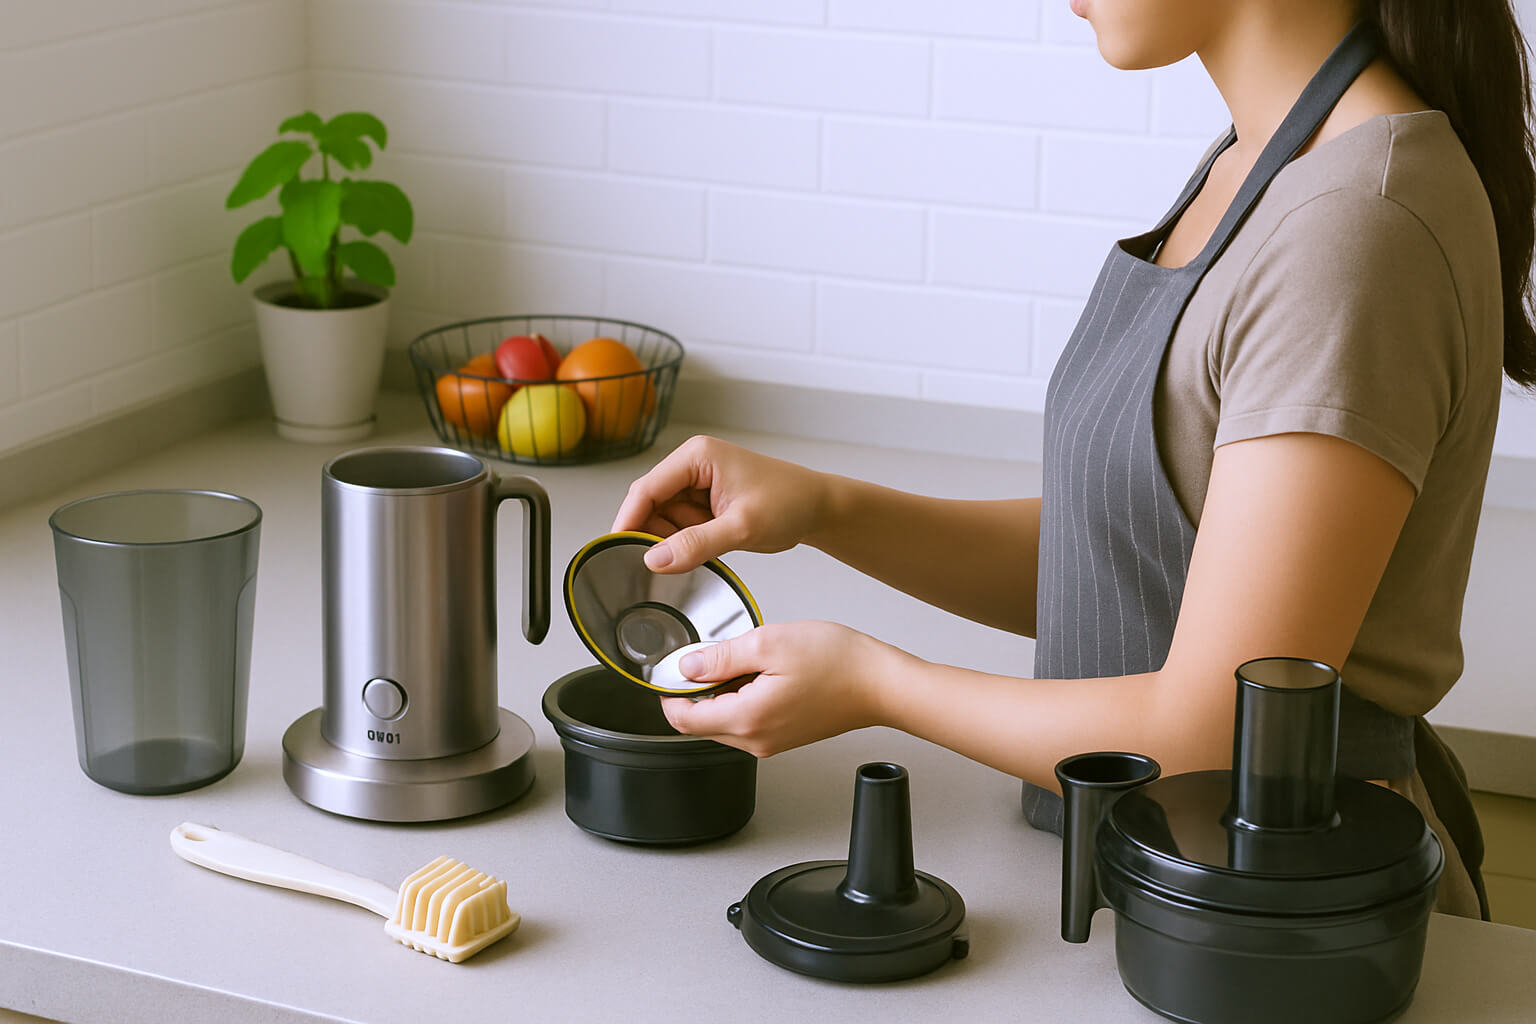
Disassembling Your Breville Juicer: A Step-By-Step Guide
Before cleaning your breville juicer, it’s essential to disassemble it first. Follow these simple steps:
- Turn off and unplug your juicer.
- Remove the pulp container and set it aside.
- Lift off the juicing cover and pulp insert.
- Remove the nutridisk and filter basket.
- Gently twist the juicing bowl to remove it from the motor base.
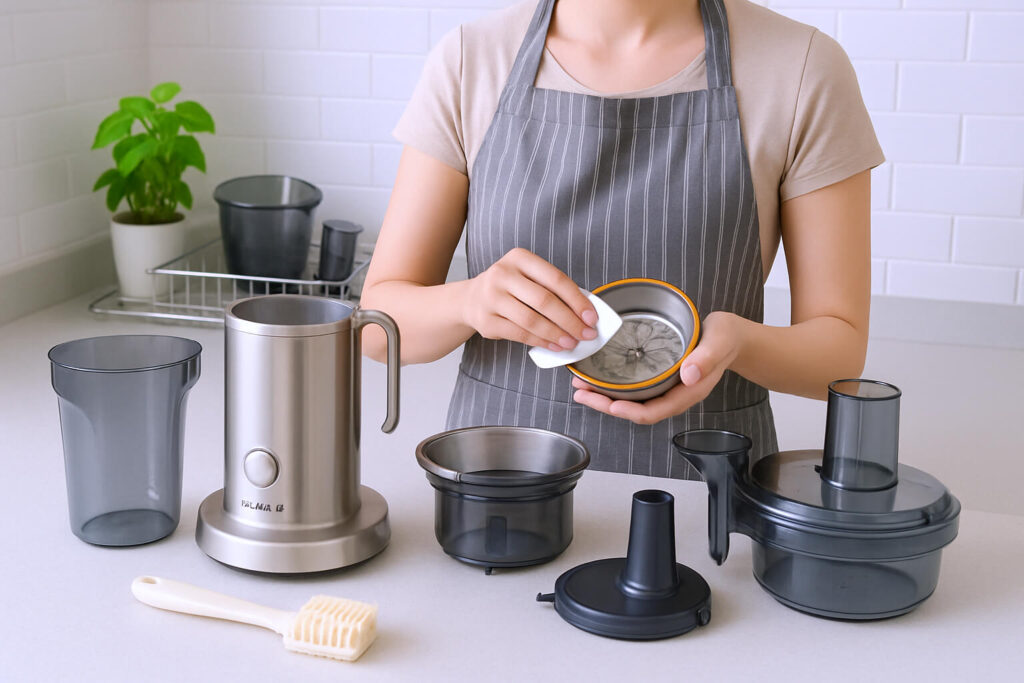
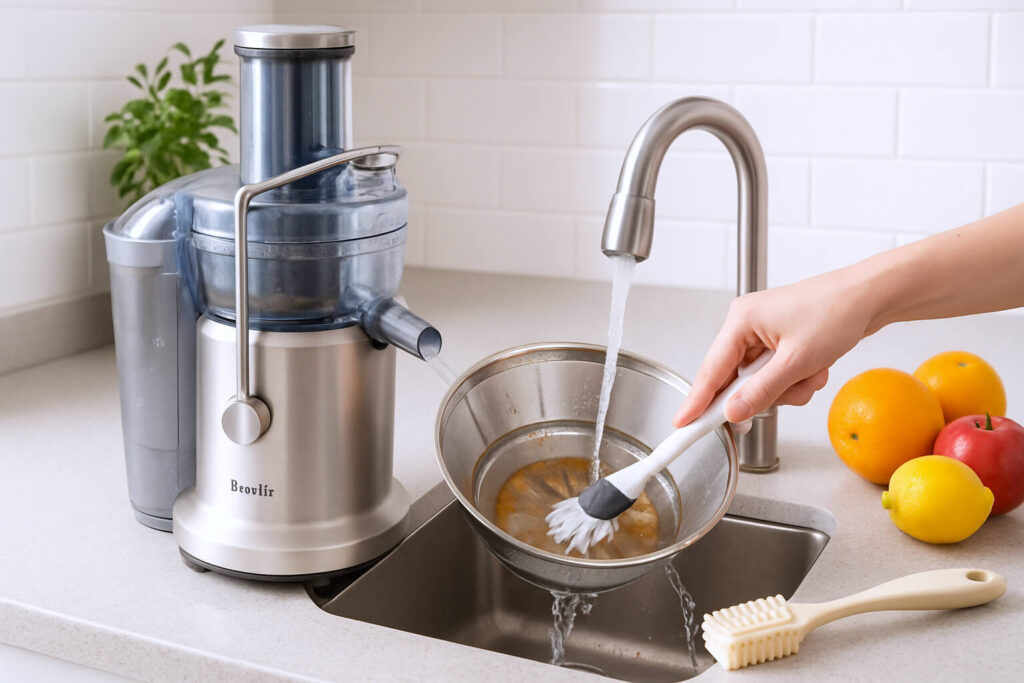
How To Clean The Filter Basket And Nutridisk?
Cleaning the filter basket and nutridisk is relatively simple, but it’s crucial to do it after every use to prevent clogging and ensure proper functioning.
- Rinse the filter basket and nutridisk under running water.
- Use the cleaning brush to scrub any remaining particles.
- Soak the parts in a bowl of warm water and a mild soap solution.
- Rinse them thoroughly under running water.
- Dry the parts with a clean towel or dishcloth.
Cleaning The Juicing Bowl And Juice Container
The juicing bowl and juice container can accumulate pulp and juice residue, making it essential to clean them properly.
- Rinse the juicing bowl and juice container under running water.
- Use the cleaning brush to remove any stubborn particles.
- Soak the parts in warm water and mild soap solution.
- Rinse them thoroughly under running water.
- Dry the parts with a clean towel or dishcloth.
Cleaning your breville juicer is essential to ensure it remains functioning correctly, and the juice produced is hygienic and nutritious. By following these simple steps, you can clean the parts effectively, giving you a hassle-free juicing experience.
Cleaning Your Breville Juicer – Step-By-Step Guide
Let’s find the step-by-step guide to clean your Breville juicer follows:
Step 1: Unplug And Dismantle Your Juicer Safely
Before cleaning your breville juicer, make sure to unplug it from the power supply and dismantle it safely. Here are the steps to follow:
- Switch off the power supply and unplug the juicer from the socket.
- Carefully remove the juicing container and pulp collector from the motor base.
- Unlock and remove the juicer cover, filter bowl surround, pulp container, and the food pusher.
- Disassemble the juicing mechanism and ensure that each part is taken off according to the manufacturer’s instructions.
Step 2: Removing Pulp And Residues
The next step is to remove the pulp and residues from the juicing mechanism. Here are some points to remember:
- Use a spatula or brush to remove any remaining pulp or residue from the filter basket and the juicing bowl.
- Soak the parts, such as the filter basket, cover, and pulp container, in warm soapy water for at least ten minutes.
- Use a brush or sponge to scrub away any remaining pulp or residue.
- Rinse all the parts under running water thoroughly.
Step 3: Cleaning The Juicer Parts Thoroughly
Cleaning the juicer parts thoroughly is essential to ensure that your juicer remains hygienic, bacteria-free, and safe to use. Here are the steps to follow:
- Wash all parts, including the filter basket, juicing bowl, food pusher, and pulp container, under running water.
- Use a brush to scrub away remaining stains and residues.
- If there are tough stains, consider using a mixture of water and vinegar to help loosen them up and remove them.
- Rinse all the parts thoroughly and dry them with a clean towel or cloth.
Step 4: Assemble Your Breville Juicer After Cleaning
After cleaning, it’s time to reassemble the breville juicer to enjoy healthy, fresh juices. Here’s what you need to do:
- Ensure that all parts are clean and dry before reassembling them.
- Assemble the parts according to the manufacturer’s instructions, starting with the filter bowl surrounding and ending with the food pusher.
- Ensure that all parts are securely locked before turning on the power supply.
Cleaning a breville juicer might seem like a tedious task, but it’s essential to prevent bacteria growth and ensure the longevity of your appliance. These simple steps will enable you to clean your breville juicer like a pro.
Advanced Cleaning Techniques For Your Breville Juicer
You surely want your Breville juicer last long and function well every time you use it. Hence, cleaning is one of the most essential aspects of owning one. There are times when simple cleaning of your Breville juicer is insufficient, and you need to utilize advanced cleaning techniques to clean it thoroughly.
Here are some advanced cleaning techniques that you can use to maintain your Breville juicer in good condition:
Using Vinegar For A Deep Clean
Vinegar contains acetic acid that is effective in cleaning tough stains and residue from your breville juicer parts. It also helps in removing bad odor from your juicer.
Here is how you can use vinegar to deep clean your breville juicer:
- In a container, mix one part white vinegar and one part water.
- Soak all removable juicer parts in the solution.
- Let the parts soak for 30 minutes to an hour,
- After soaking, gently scrub the parts with a soft-bristled brush.
- Rinse the parts under running water.
- Dry all parts before reassembling the juicer.
How To Clean Your Juicer When You Don’t Have Much Time?
If you are always out of time, but you still want to keep your juicer clean, here are some quick and easy cleaning techniques that you can use:
- Rinse all removable juicer parts under running water immediately after juicing. This will prevent the buildup of residues in the juicer parts.
- Use a small brush, such as a toothbrush, to scrub the smallest and hardest to reach parts.
- Clean the juicer filter immediately after juicing to prevent the buildup of residue that hardens over time.
Tricks For Cleaning The Smallest And Hardest To Reach Parts
Although the breville juicer parts are dishwasher safe, there are some parts that the dishwasher cannot clean. Here are some tricks that you can use to clean the smallest and hardest to reach parts of your breville juicer:
- Use a small brush, such as a toothbrush, to clean the mesh filter and the hard to reach places in the feed chute.
- Soak the juicer parts in warm, soapy water for 10-15 minutes before using a brush to scrub the parts.
- Use a damp cloth to clean around the buttons and knobs of the juicer to remove any residue.
By using these advanced cleaning techniques, you can keep your breville juicer in great shape and ensure it works efficiently every time you use it. Remember to clean your juicer regularly to keep it in good condition and prevent the buildup of residue that can affect its performance.
Troubleshooting Common Problems That May Arise When Deep Cleaning:
When you regularly use your breville juicer, you may encounter some issues when it’s time for a good deep cleaning. Here are some common problems and their solutions:
| Problems | Solution |
|---|---|
| Problem: Difficulty removing buildup from mesh filter. | Solution: soak the filter in warm, soapy water and use a soft-bristled brush to scrub away any residue. If additional cleaning is needed, try using a solution of white vinegar and water. |
| Problem: Juice stains on plastic parts. | Solution: wipe down the affected parts with a mixture of baking soda and water or lemon juice and water. Avoid using harsh chemicals or abrasive sponges that could damage the plastic. |
| Problem: Residue left on blades. | Solution: Disassemble the juicer and clean the blades with a soft-bristled brush and warm, soapy water. For caked-on residue, try using a mixture of baking soda and water to scrub it away. |
| Problem: Lingering odors after cleaning. | Solution: wash all removable parts and the outer housing with warm, soapy water. Rinse and dry them thoroughly. For tough odors, try wiping down the surfaces with a solution of white vinegar and water. |
If you notice any cracks or damage to any parts during your deep cleaning, it’s important to immediately replace them. Visit the breville website or a reputable appliance store for replacement parts.
Remember to always read your breville juicer’s instruction manual before performing any deep cleaning or maintenance tasks. By regularly cleaning and maintaining your juicer, you can ensure that it continues to operate at its best and produces delicious, fresh juice for years to come.
FAQs For How To Clean Breville Juicer?
Why Is It Important To Clean My Breville Juicer Regularly?
Cleaning your breville juicer regularly helps maintain its performance, prevents bacteria growth, and ensures the longevity of the juicer.
What Are The Steps To Clean My Breville Juicer?
Firstly, switch off and unplug the juicer. Secondly, disassemble the juicer and rinse its components with water. Then clean each part thoroughly and dry them completely before reassembling the juicer.
What Are Some Common Mistakes To Avoid When Cleaning My Breville Juicer?
Avoid using scouring pads or abrasive cleaners, as they can damage the juicer surface. Also, make sure to clean all components, including hard-to-reach areas, to prevent bacterial growth.
How Often Should I Clean My Breville Juicer?
It is recommended to clean your breville juicer after every use to maintain hygiene and performance.
What Is The Best Way To Clean The Juicing Bowl?
To clean the juicing bowl, first, remove the filter basket and then use a brush to remove any remaining pulp. Rinse it with warm, soapy water.
Can I Wash The Breville Juicer In A Dishwasher?
Yes, most parts of the breville juicer are dishwasher safe; however, it is recommended to check the user manual for specific instructions.
Conclusion
Cleaning your breville juicer is an essential task to keep it running smoothly and hygienically. Regular cleaning of your juicer ensures that it functions optimally and produces high-quality juices safely. Remember to unplug your juicer and disassemble all the removable parts before washing them with soap and water.
Ensure that you use non-abrasive materials to clean the juicer’s mesh filter efficiently, and don’t forget to clean the exterior of the juicer. After rinsing and drying each part, you can carefully reassemble the juicer to use it for your next juicing session.
Following these simple steps will not only make cleaning your breville juicer a breeze but also increase its lifespan and minimize the risk of contamination. Juicing can be a fun and healthy experience if you take proper care of your equipment, and cleaning your breville juicer is undoubtedly a crucial component.